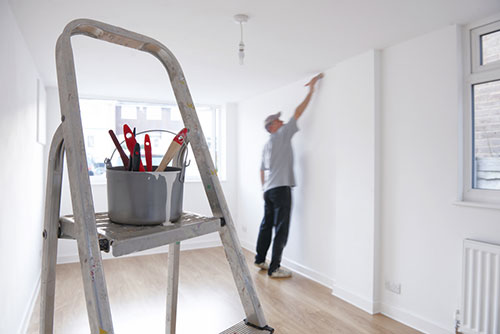
How To Prepare Your Home’s Exterior for Painting
To keep your home’s exterior looking its best—and prolong its life—experts recommend painting every five years or so.
Preparing the Exterior Surface for Painting
Here’s the step-by-step process for proper surface preparation which gives you the best results and a longer lasting paint job.
1. Power Wash The Surface
A power washer is the best way to eliminate dirt and peeling/flaking paint from most types of siding. (Do not power wash stucco since it can destroy the surface in seconds.) Keep the spray wand at least 12 in. from the siding to prevent surface gouging. Don’t spray up under the siding flaps. Don’t use it to clean windows: it will break the glass. Always wear eye protection; never spray on a windy day. For the cleanest surface, use a good cleaning agent with the power washer, such as TSP or an all-purpose cleaner. Once the cleaning agent has been applied, rinse the surface with the power washer using water only.
2. Scrape Off Loose Paint
Since a power washer will not eliminate all loose paint, scrape loose and flaking paint down to bare wood. If the paint cannot be removed it’s most likely bonded to the wood, so it can be painted over. After scraping, sand or “feather” the edge between the scraped areas and the bare wood until it’s smooth.
3. Fill Nicks And Gouges
To fix surface imperfections, fill areas where bare wood is much lower than the paint (nicks, gouges, etc.) with an exterior-grade surfacing compound. Allow the compound to dry according to the manufacturer’s directions. Then sand smooth with medium (100-grit) sandpaper.
4. Caulk Joints And Gaps
To ensure a good-looking paint job and to prevent water penetration and indoor drafts, caulk all joints where the siding meets the windows, door trim and other openings. Use a paintable acrylic latex or silicone acrylic caulk, but be sure to remove old caulk before caulking each area. Don’t forget to caulk around outdoor electrical boxes, outdoor water faucets and exterior lights; caulk under door thresholds and window sills.
5. Re-putty Window Glass
Re-putty any windows where the glazing compound is cracked or missing. Be sure to remove any old putty (and try to get down to the bare wood of the sash). Use an artist’s brush and an oil-based primer to prime the bare wood. After the primer dries, apply a new bead of glazing compound. Follow directions on the glazing compound container for specific drying times before starting to paint.
6. Prime All Bare Wood
New paint will not adhere without proper priming. So prime all bare wood, scraped/sanded areas, and all areas filled with surfacing compound. When in doubt about a surface, prime. To ensure better coverage of the topcoat, have Lowe’s tint the primer to a colour that’s identical or close to the topcoat.
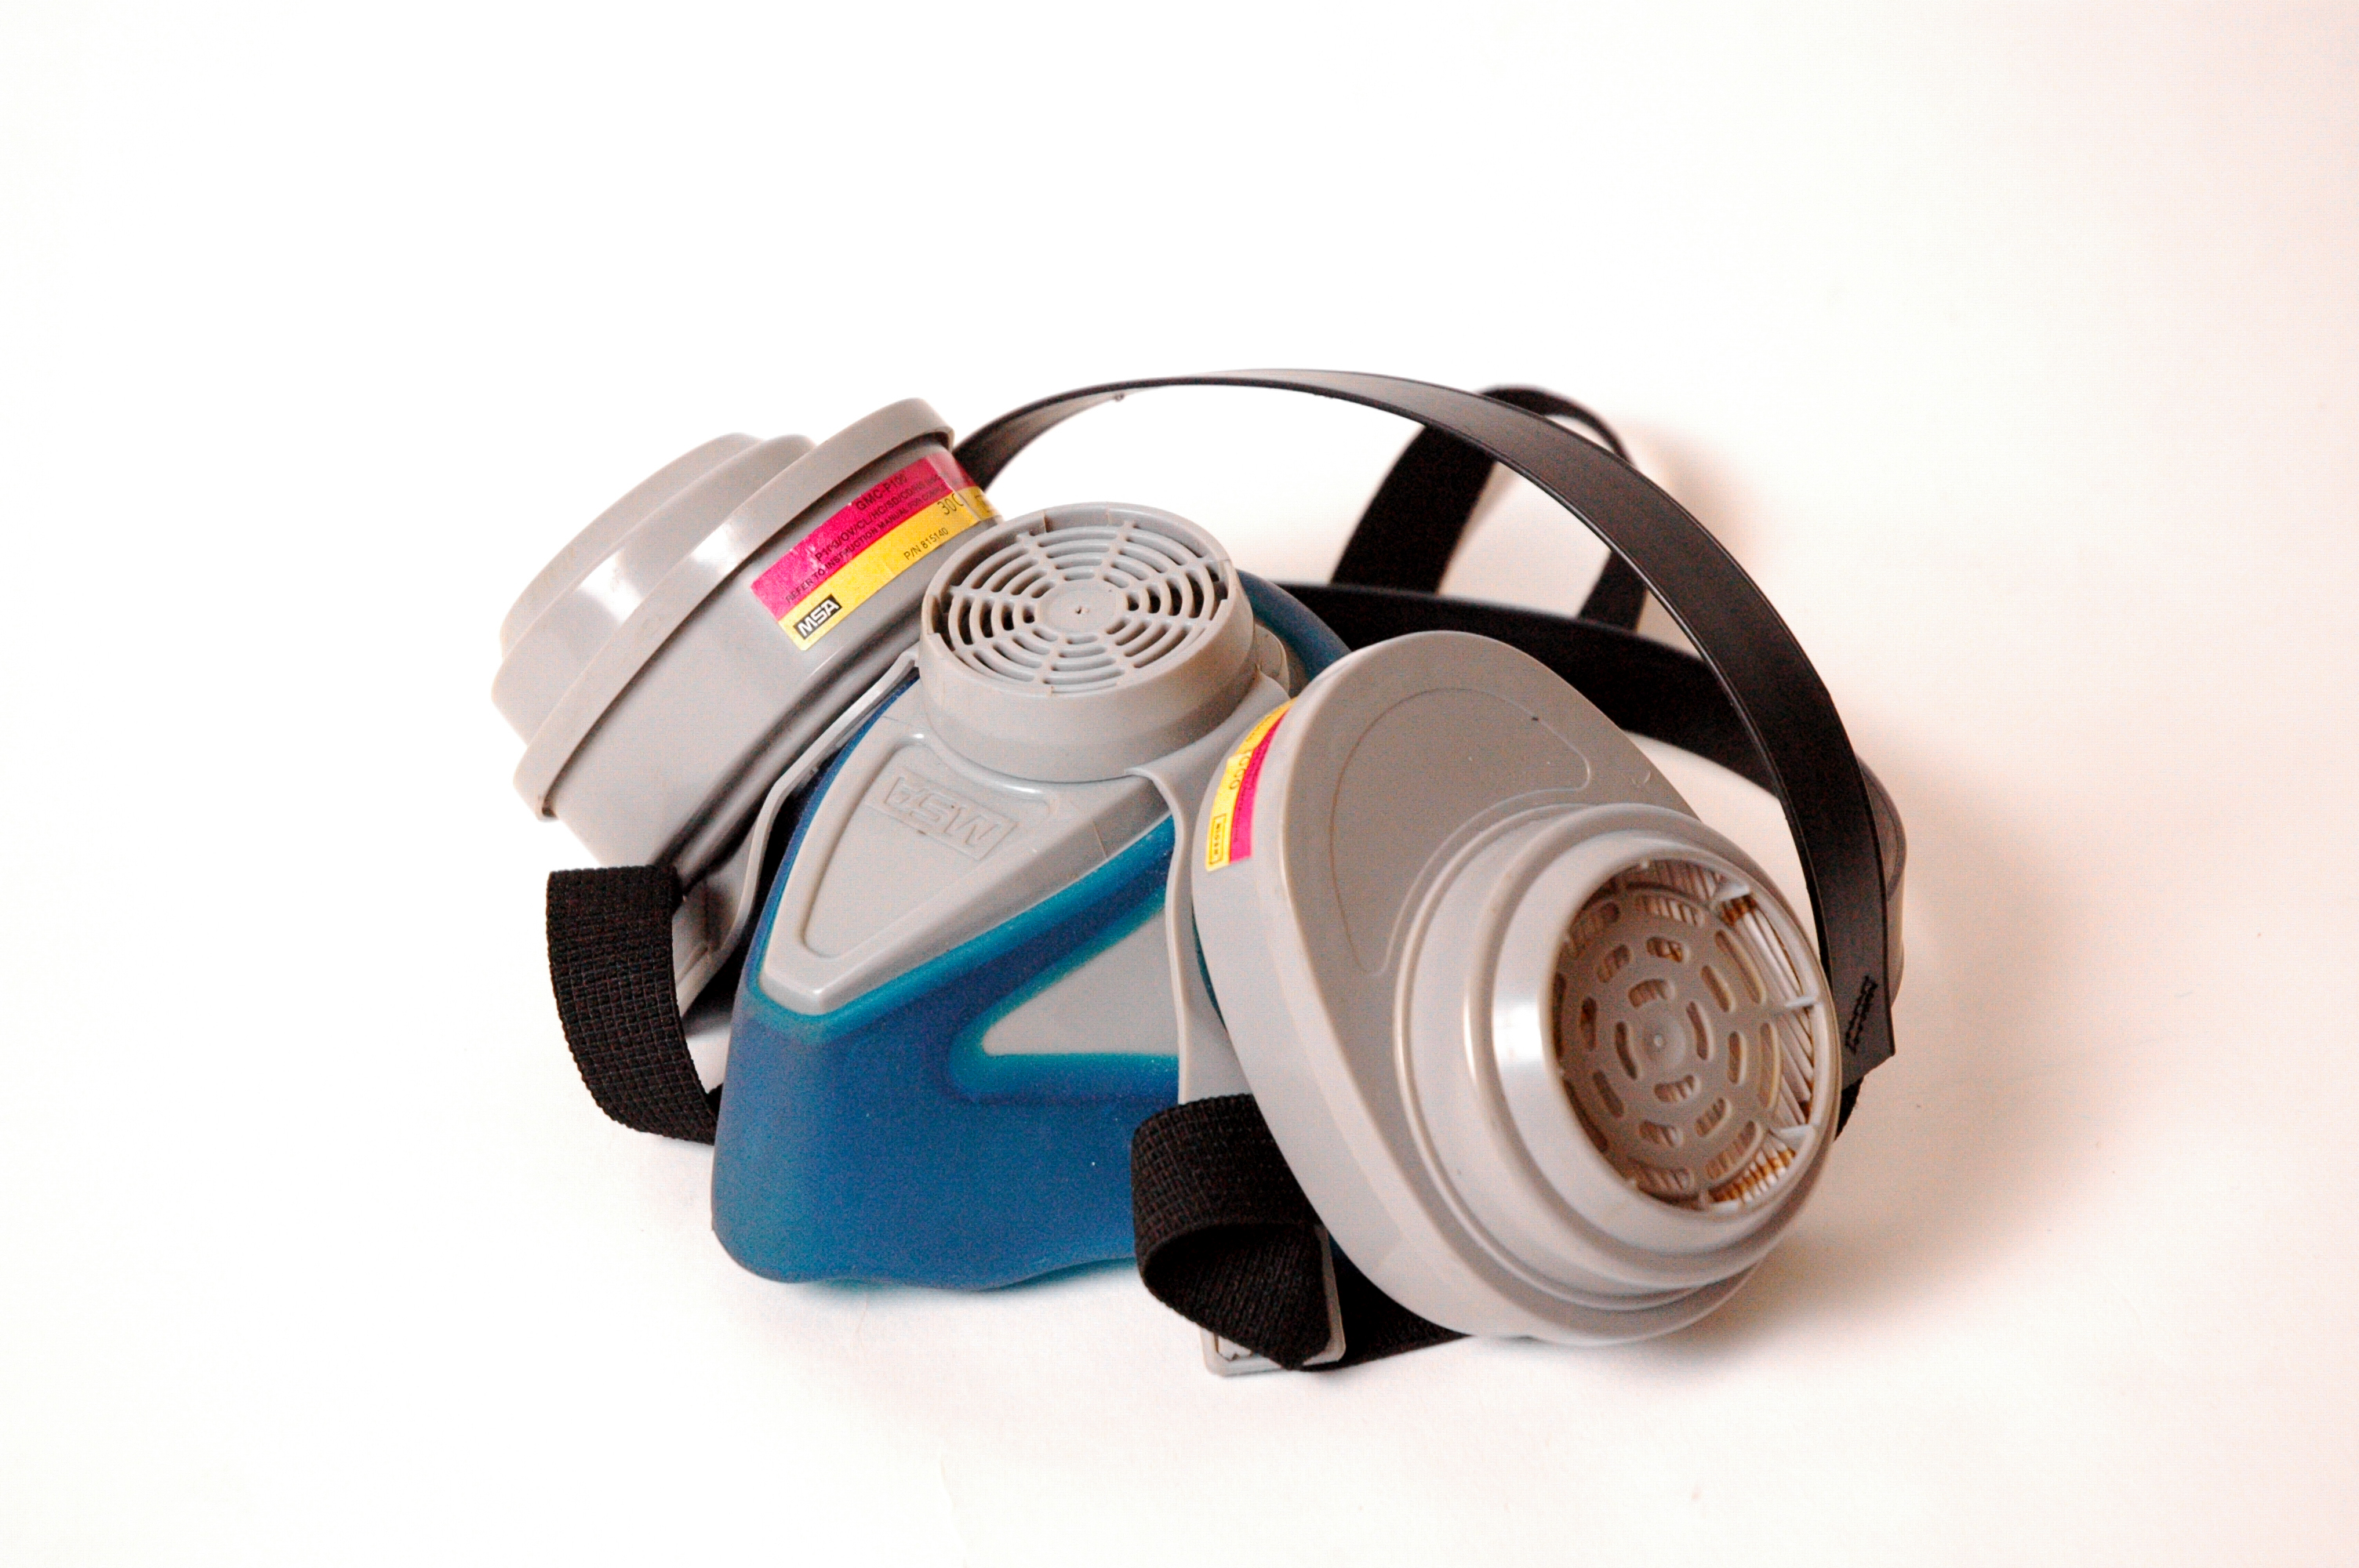
Wear a good-quality face mask designed to filter out lead particles. Inexpensive dust masks won’t do the job. Lead-filtering masks and replacement filter cartridges are available at Lowe’s, or from safety equipment dealers.
Wear old clothes that can be thrown away.
Use dropcloths to catch as many paint chips as possible and then dispose of them properly.